But the quiet hours at the shop gave me lots of time to devote to the current project: the serpentine front, oak sideboard. Most recently, I replaced the bottom.
 |
| Old bottom. |
I must admit that I considered leaving it in place. It didn't look too bad warped and separated only in one spot at the back. I also thought about just gluing the surface back into place.
 |
| Side view. |
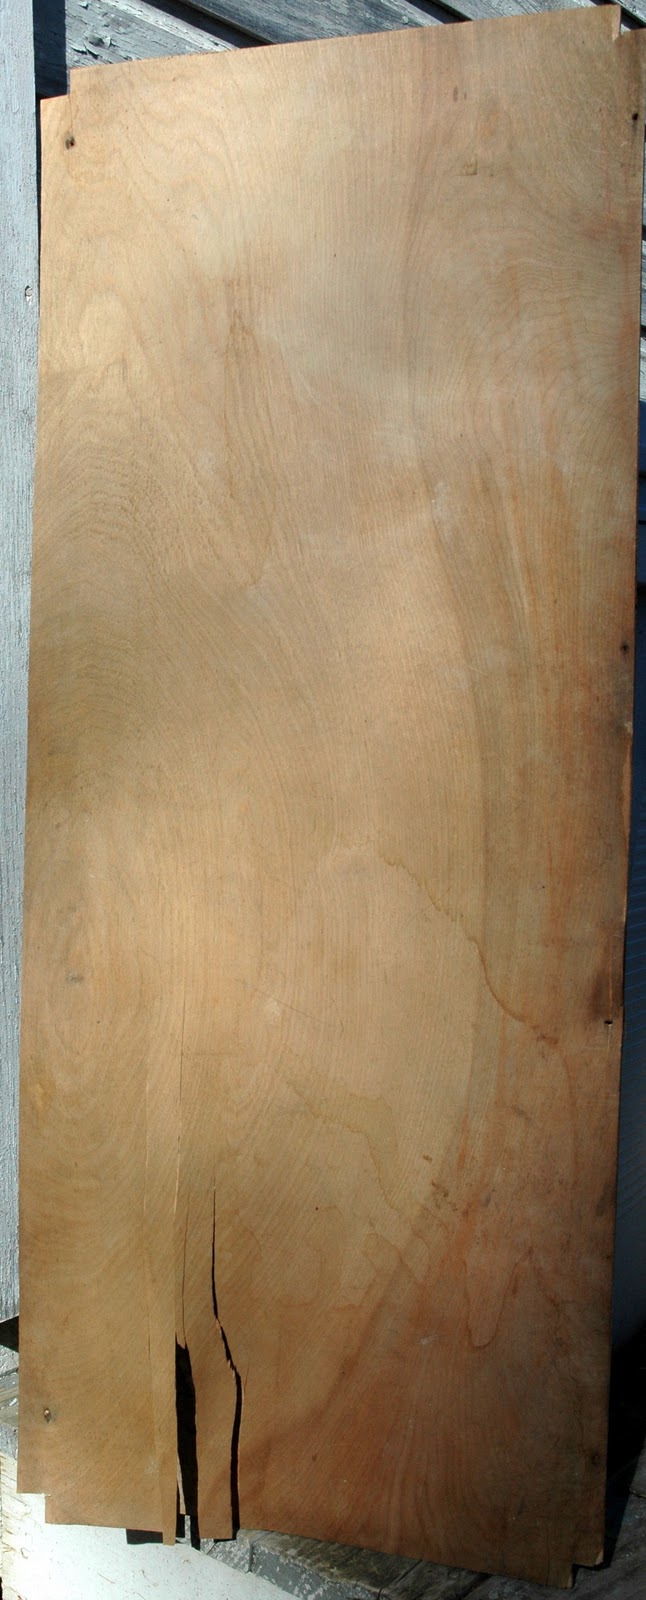
But, closer examination clearly indicated that it needed to be replaced. If I hadn't replaced it, it would have always bothered me. I brought the old piece home and used it as a template to cut a new one. Sometimes I measure once and cut twice, but on this project I made sure to measure multiple times and cut once. There was only one piece of wood large enough to use.
 |
| New Bottom. |
I cut the notches in, and marked the existing nail holes too. Then the big question: Did I do it right? The moment of truth came today when I brought the new piece to the shop. It was a challenge to try to fit the new piece into place from the bottom of the sideboard. I ended up having to remove the entire bottom brace. With the brace gone, it was only moments before the new piece slid into place. All in all, it was a wonderful learning experience for me. The next one will be easier!
 |
| It worked! |
So, all that's left to do is the varnishing. (And maybe some new screws for the hinges.) I will varnish the inside of all the drawers and the new bottom as well as applying one coat to the outside surface. The top will get two coats for extra protection from wear.
 |
| Almost done. It should be all finished by next week. I'll put the finished product photos here. |
No comments:
Post a Comment